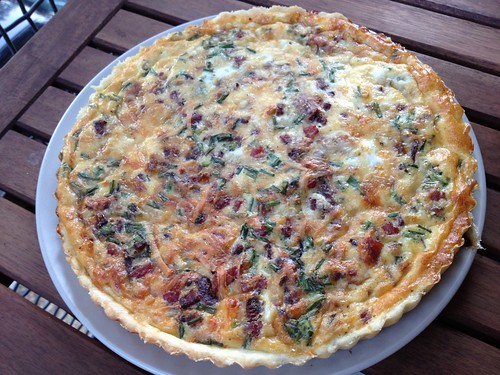
Caramelized Onion and Pancetta Quiche.
I also loved this quiche recipe because I actually learned how to master three recipes:
1) caramelized onions
2) flaky pâte brisée - perfect go to recipe for pie dough
3) quiche
I was able to master the three recipes because they were very easy to follow with some good, no fail tips that can be applied to other recipes.
Caramelized Onion and Pancetta Quiche
Originally seen on Cupcakes and Cashmere, recipes from Simply Recipes.
Caramelized Onions
The main tip for making good caramelized onions is patience, patience and more patience. I put the timer on to make sure I cooked the onions for 40 minutes and did not cheat! You should plan to make more than the recipe requires because it'll be hard to resist sampling some, or it'd be great to save for other recipes (like onion dip!).
* olive oil
* 2 red onions, sliced thinly
* salt
* 1 tsp balsamic vinegar
Heat olive oil in a pan on medium/high heat.
Add the onion slices and sprinkle a little bit of salt on top.
Cook, stirring occasionally for 10 minutes, until onions have softened and are translucent.
Reduce the heat to medium low and cook for an additional 40 minutes, stirring occasionally, until the onions are well browned.
Add balsamic vinegar and cook for 10 minutes more, until onions are completely caramelized.
Set aside.


Caramelized onions.
Pâte Brisée
The key tip for a flaky crust is to use frozen butter. Do not skip this step and you will have the best crust with minimal effort. From Simple Recipes - refer to the site for great step by step pictures.
* 1-¼ cups all-purpose flour, plus extra for rolling
* ½ tsp salt
* ½ tsp sugar (increase to 1-½ tsp if for a sweet recipe)
* 8 Tbsp (1 stick) unsalted butter, very-cold, cut into ½ inch cubes
* 3 to 4 Tbsp ice water, very cold
Cut up a stick of butter into small (about ½-inch) cubes, and put it into the freezer for at least 15 minutes, better an hour, best overnight.
Place the flour, salt, and sugar into a food processor and pulse until well combined.
Add half of the butter cubes and pulse 6 to 8 times.
Add the other half of the butter cubes and pulse 6 to 8 more times. You should have a mixture that resembles a coarse meal, with many butter pieces the size of peas.
Add a couple of tablespoons of ice cold water (without the ice!) to the food processor bowl and pulse a couple of times.
Then add more ice water, slowly, about a tablespoon at a time, pulsing after each addition, until the mixture just barely begins to clump together. (If you pinch some of the crumbly dough and it holds together, it's ready, if not, add a little more water and pulse again. Try to keep the water to a minimum. Too much water will make your crust tough.)
Remove the crumbly mixture from the food processor and place on a very clean, smooth surface.
Use your hands to press the crumbly dough together and shape into a disc.
Work the dough only enough to just bring the dough together. (Do not over-knead or your crust will end up tough.)
Sprinkle the disc with a little flour on all sides.
Wrap the disc in plastic wrap and refrigerate at least 1 hour. (At this point you can freeze the dough disk for several months until ready to use. Defrost overnight in the refrigerator before proceeding.)
When you are ready to roll out the dough, remove the disk from the refrigerator and place on a clean, smooth, lightly floured surface, letting it sit for 5 to 10 minutes.
Sprinkle some flour on top of the disk.
Using a rolling pin, roll out the dough to a 12 inch circle, to a thickness of about ⅛ of an inch thick.
Place on to a 9-inch pie plate, lining up the fold with the center of the pan. (I used a fluted tart pan with removable bottom.)
Gently unfold and press down to line the pie dish with the dough.
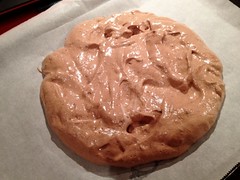
Flaky crust.
Quiche
Although the recipe calls for pre-baking the crust, I skipped this this step both times with no issues. In terms of tips for quiche, if you follow the recipe for the egg mixture, you can add any filling that you come up with, although cheese is kind of required. Just mind the filling ingredients when seasoning the quiche. In this case, there is no need for additional salt, considering the salty pancetta and cheese as filling. Once the dough is rolled, it's just an assembly job.
* 1 recipe pie dough
* 6 ounces Gruyère cheese, grated (1-½ cups)
* caramelized onion
* 3 large eggs
* ½ cup milk
* ½ cup heavy cream
* pinch nutmeg* Pancetta, cubed and cooked
* chives
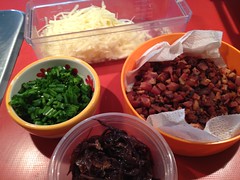

Quiche ingredients.
Preheat oven to 350F.
Place tart pan on a baking sheet to catch any run-off there might be. (This is worthwhile as there will be run-off.)
Sprinkle half the cheese evenly over the bottom of the crust.
Spread caramelized onions and pancetta over the cheese.
Top with remaining cheese and chives.
In a medium bowl, whisk together milk, cream, and eggs.
Season with nutmeg and pepper.
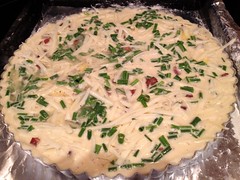
Pour egg mixture onto crust.
Bake until just set in the center, 30 to 35 minutes.
Cool on a wire rack for about 10-15 minutes before slicing.
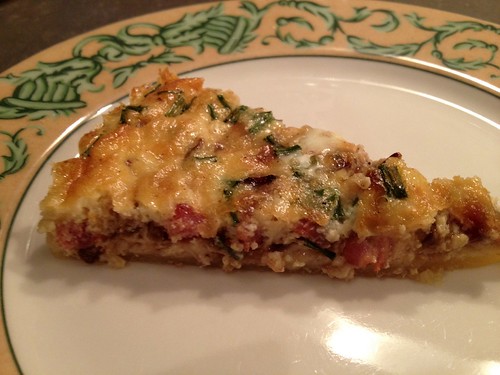
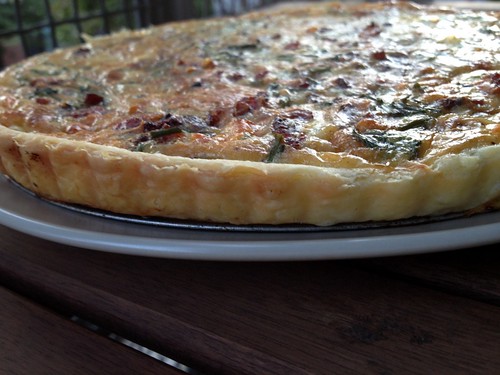
Quiche slice.
This makes the perfect brunch dish, that can be served with a side salad. Everything can be prepared the night before, and just baked in the morning.